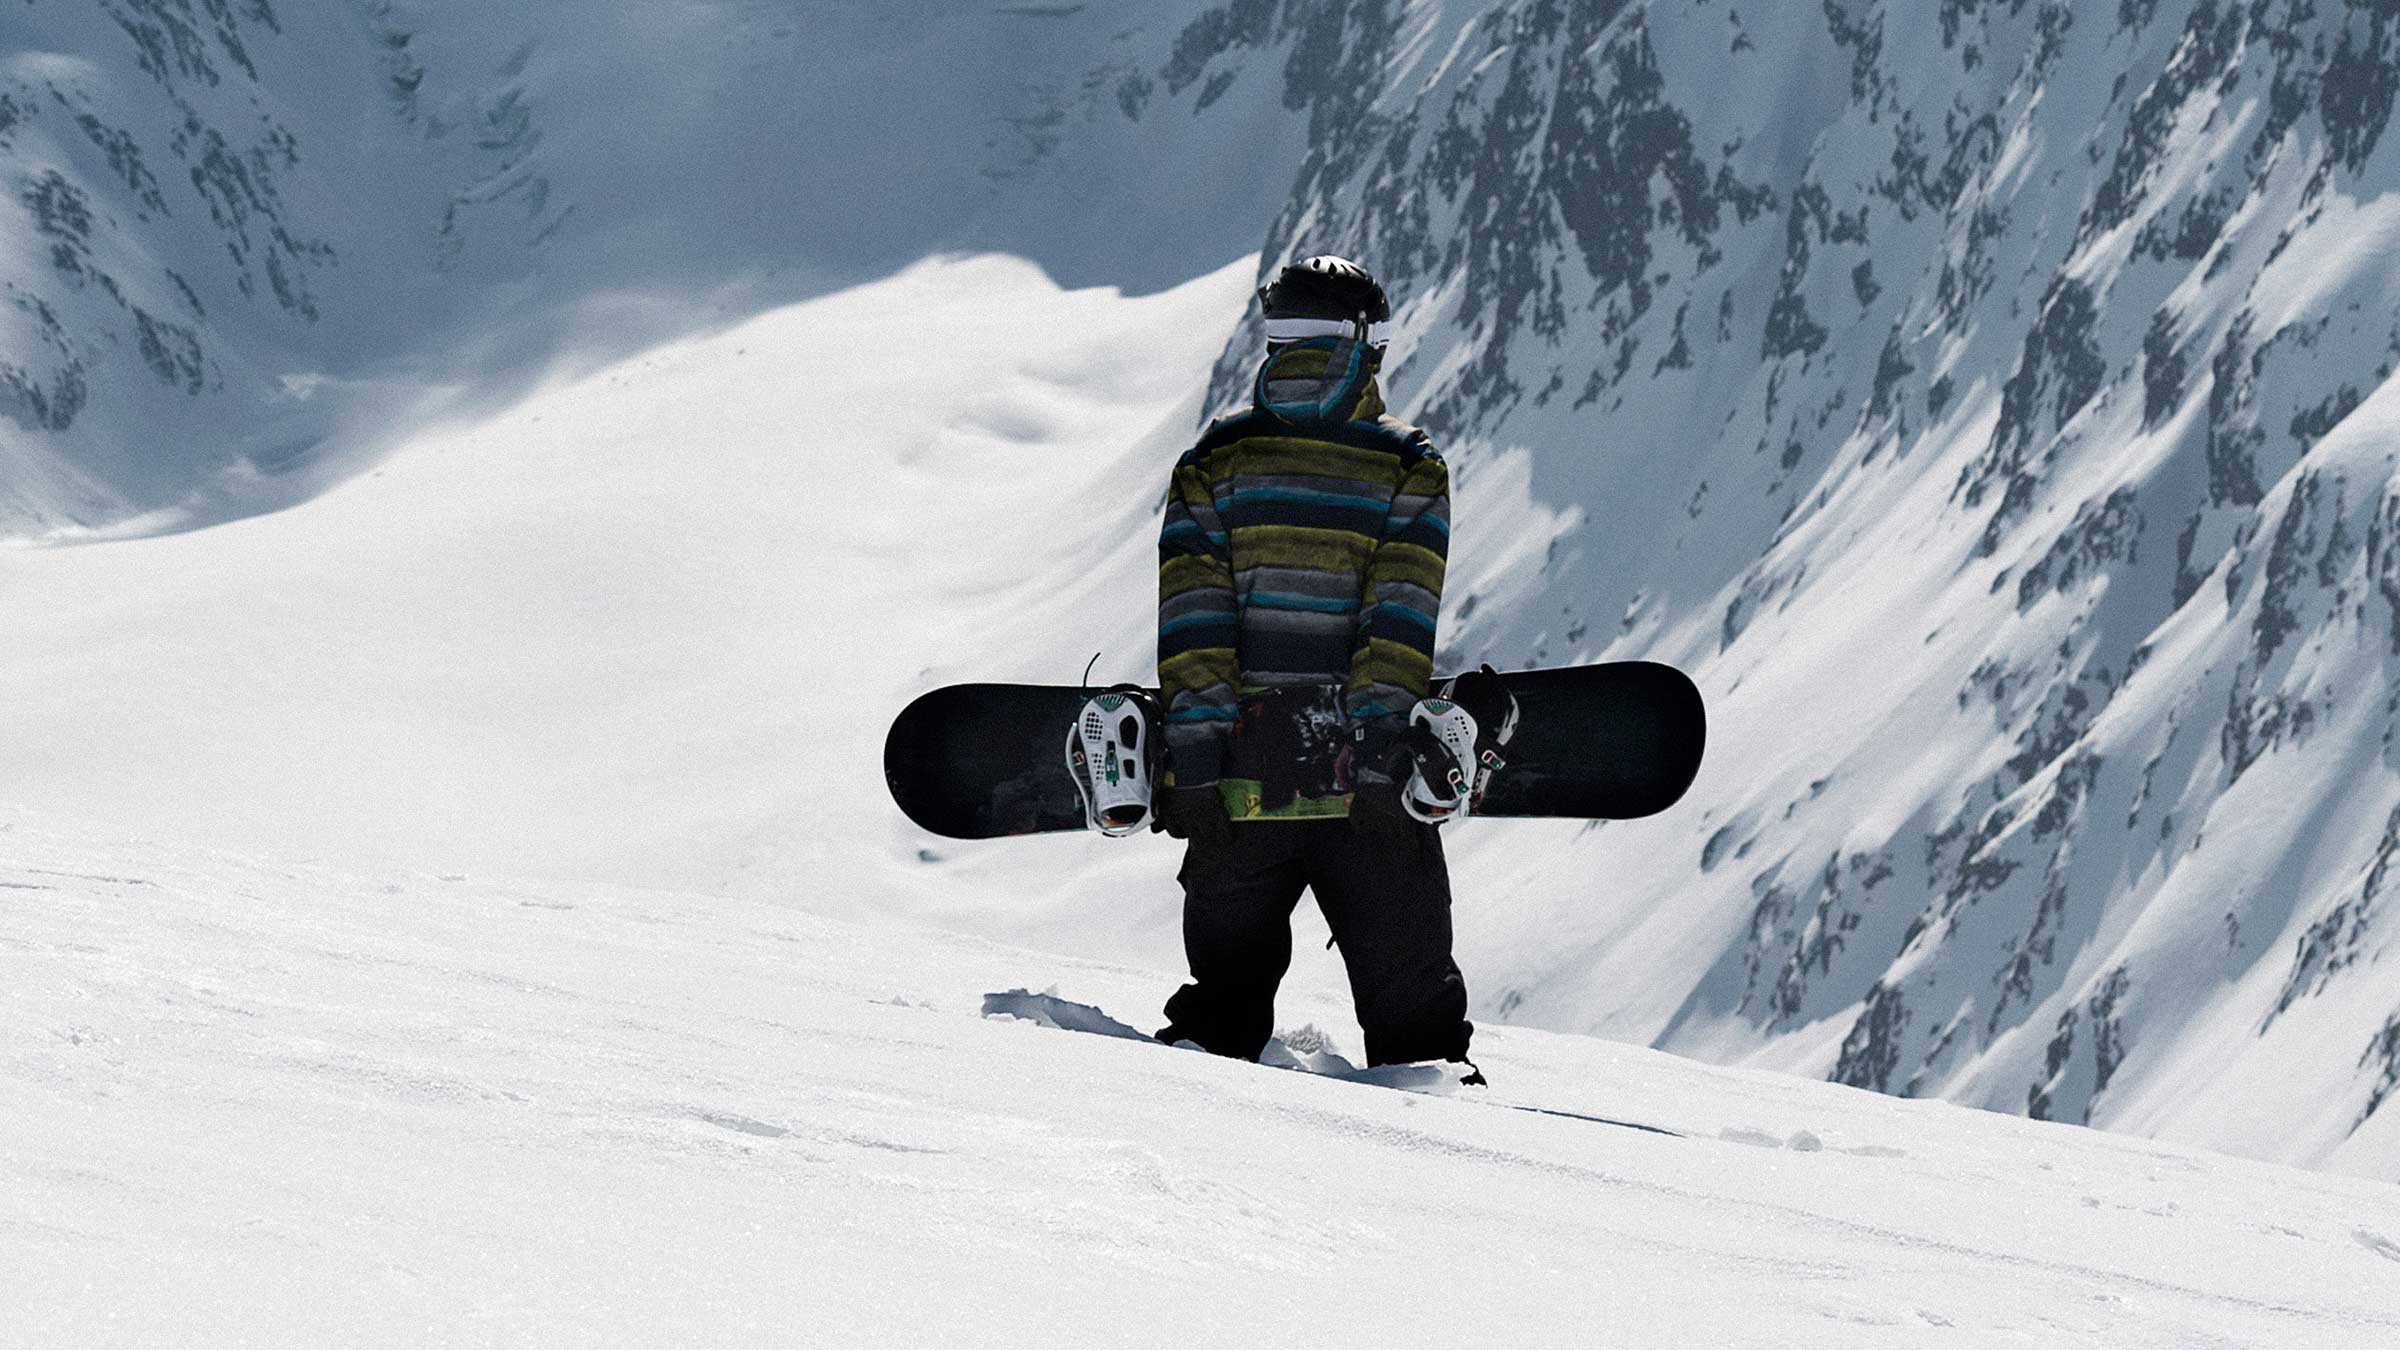
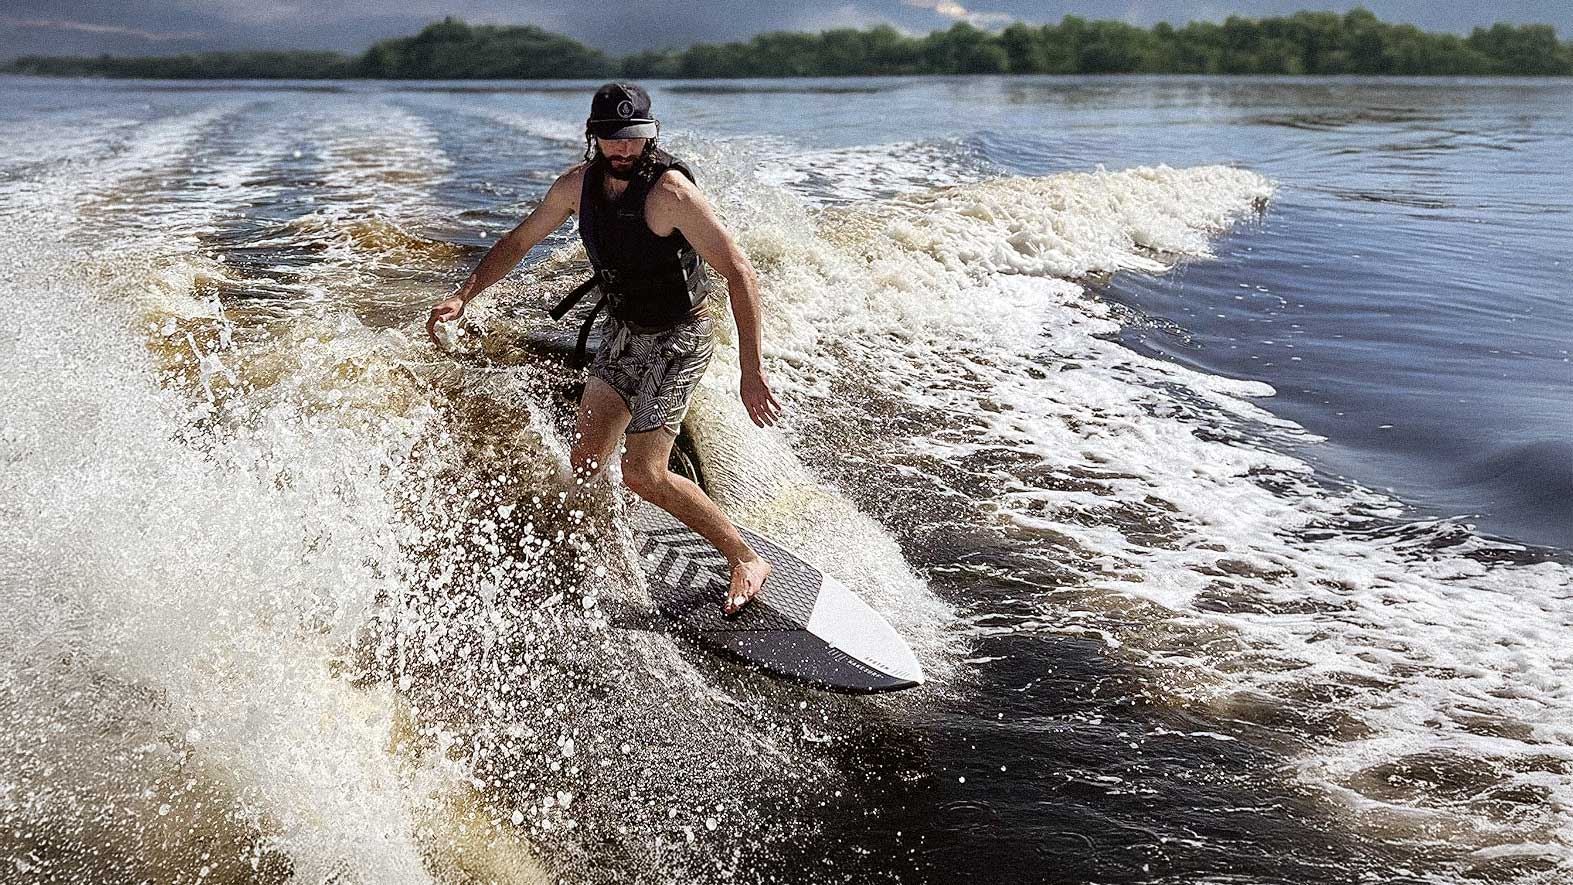


Lesson Skill Level: Intermediate
Rails can be one of the most intimidating obstacles on the mountain. However, with a few basics, even an intermediate rider can be confidently ripping and sliding their way through the terrain park. We’re going to cover those basics in 5 simple steps to show just how easy your first rail session can be!
1. Picking the right feature
The first step is one of the most important, picking the right feature to start on. In this case we will be looking for a “box” rail. Box rails, as opposed to the thin round metal handrails many are familiar with, have a much wider plastic surface that makes balancing easier.
Look specifically for a ride on box. These are very common in the small terrain park on any mountain. A ride on box will have a small ramp that connects to the rail so you can ride directly on to it without having to jump or ollie. Finding a ride on box to learn on will take much of the intimidation of rails away right from the start.
2. Approach
When riding rails the majority of our success is going to actually come from the set up and approach, all before we even leave the snow. Since we are starting with a straight ride on box we want to make sure we approach the rail lined directly down the center. This will keep us from falling off the side of the rail. Riding off the end is not just the goal, it also makes landing off the rail much easier than off to the side.
When you near the rail you will likely find yourself wanting to slow down a lot. While speed control is always good to practice, keeping a little momentum will actually make the rail easier. Rather than get in to the technical details and laws of momentum and inertia, just picture riding a bike. Balancing on a bike that isn’t moving is next to impossible, at very slow speeds it’s wobbly, but when cruising with a little speed your momentum makes balancing easy. This exact same principle applies to riding a rail on a snowboard. While it may seem scary or counterintuitive, keeping a little speed will actually make things much easier and safer.
3. Flat Base
So we’ve got a little speed, we are lined up directly down the rail, it’s time to actually do this thing! As you ride on to the rail the first thing you’ll notice is that your board has absolutely no hold. Your snowboards edges provide constant grip and hold when you’re on snow. Once you get on a rail all that grip disappears. That’s ok though, we already prepped for this by lining ourselves directly down the rail in our approach.
Since we no longer have edge hold to help keep our board in place we will want to balance directly over our board to keep the base completely flat. Any attempt to weight or use our edges will have your board sliding directly out from under us. Once we are on the rail we are now riding the board instead of driving it. So just relax, center your weight and ride it out. Even if your approach wasn’t perfect and you find yourself going off the edge, that’s fine. Relax, ride it off the side, and try and line it up better next time.
4. Body Positioning
It’s time to remember some fundamentals. We are balancing in a relaxed athletic pose, knees slightly bent, weight centered, and most importantly, our shoulders are lined up directly with our board and the rail. We look down the rail with our head, NOT our shoulders.
Instinct can cause beginners to “open” their shoulders to face down the rail. After all it’s normal to have your body facing the direction you’re going when walking. But that is incorrect posture on a snowboard. We can get away with some of this bad posture with edge hold when we are on snow. However, as we discussed in flat basing, we no longer have our edges to lock in our position on a rail. As a result, if we open our shoulders the board will also start to slide and turn sideways following our shoulders. This can be useful down the road when we learn boardslides and spins but for now we are just focused on making it to the end of the rail. So, for now we turn our neck and look to the end of the rail with our head, while keeping our shoulders straight!
5. Exiting The Rail
The final step is dismounting the rail. Ideally, we’ve made it to the end of the box, but the technique stays the same whether we ride it out cleanly or slip off the side early. The best way to exit is really to do… nothing!
Instinctually you may find yourself wanting to kind of jump or push away from the rail to get clear of it. After all, if we fall on our exit, we don’t want to hit the rail, right? But by doing this we actually increase the chance of losing our balance and tipping over. Instead, we need to trust all the techniques we’ve used to get to this point. We have momentum, we are flat based, we are looking straight with our shoulders in line with our board. If we stay locked in this position our snowboard will now take care of the rest, sliding off the rail and carrying us clear of it. If there is a drop at the end rail we simply land in our athletic stance, knees slightly bent, using them to absorb the landing!
And that’s all there is to it! Pick the right feature, maintain your speed, stay in an athletic position, keep your shoulders in line with the board, and let your snowboard take care of the rest! Follow these basic steps and rails will soon feel as easy as linking turns!
Leave a comment